October 14, 2025
Written by
Becca Levian
If you’re a parent, you know how quickly the artwork piles up.
The finger paintings. The rainbow scribbles. The paper plate creations. The tiny people with giant heads. The “I made this for you” pieces that immediately make you feel like you are legally and emotionally required to keep them forever.
And honestly, a lot of it does feel impossible to throw away.
Because it’s not just paper.
It’s a season. Their handwriting. Their imagination. Their little hands. The way they saw the world at that exact age.
But also? Keeping every single piece in a bin forever isn’t exactly the dream either.
So the question becomes: what do you actually do with all of it?
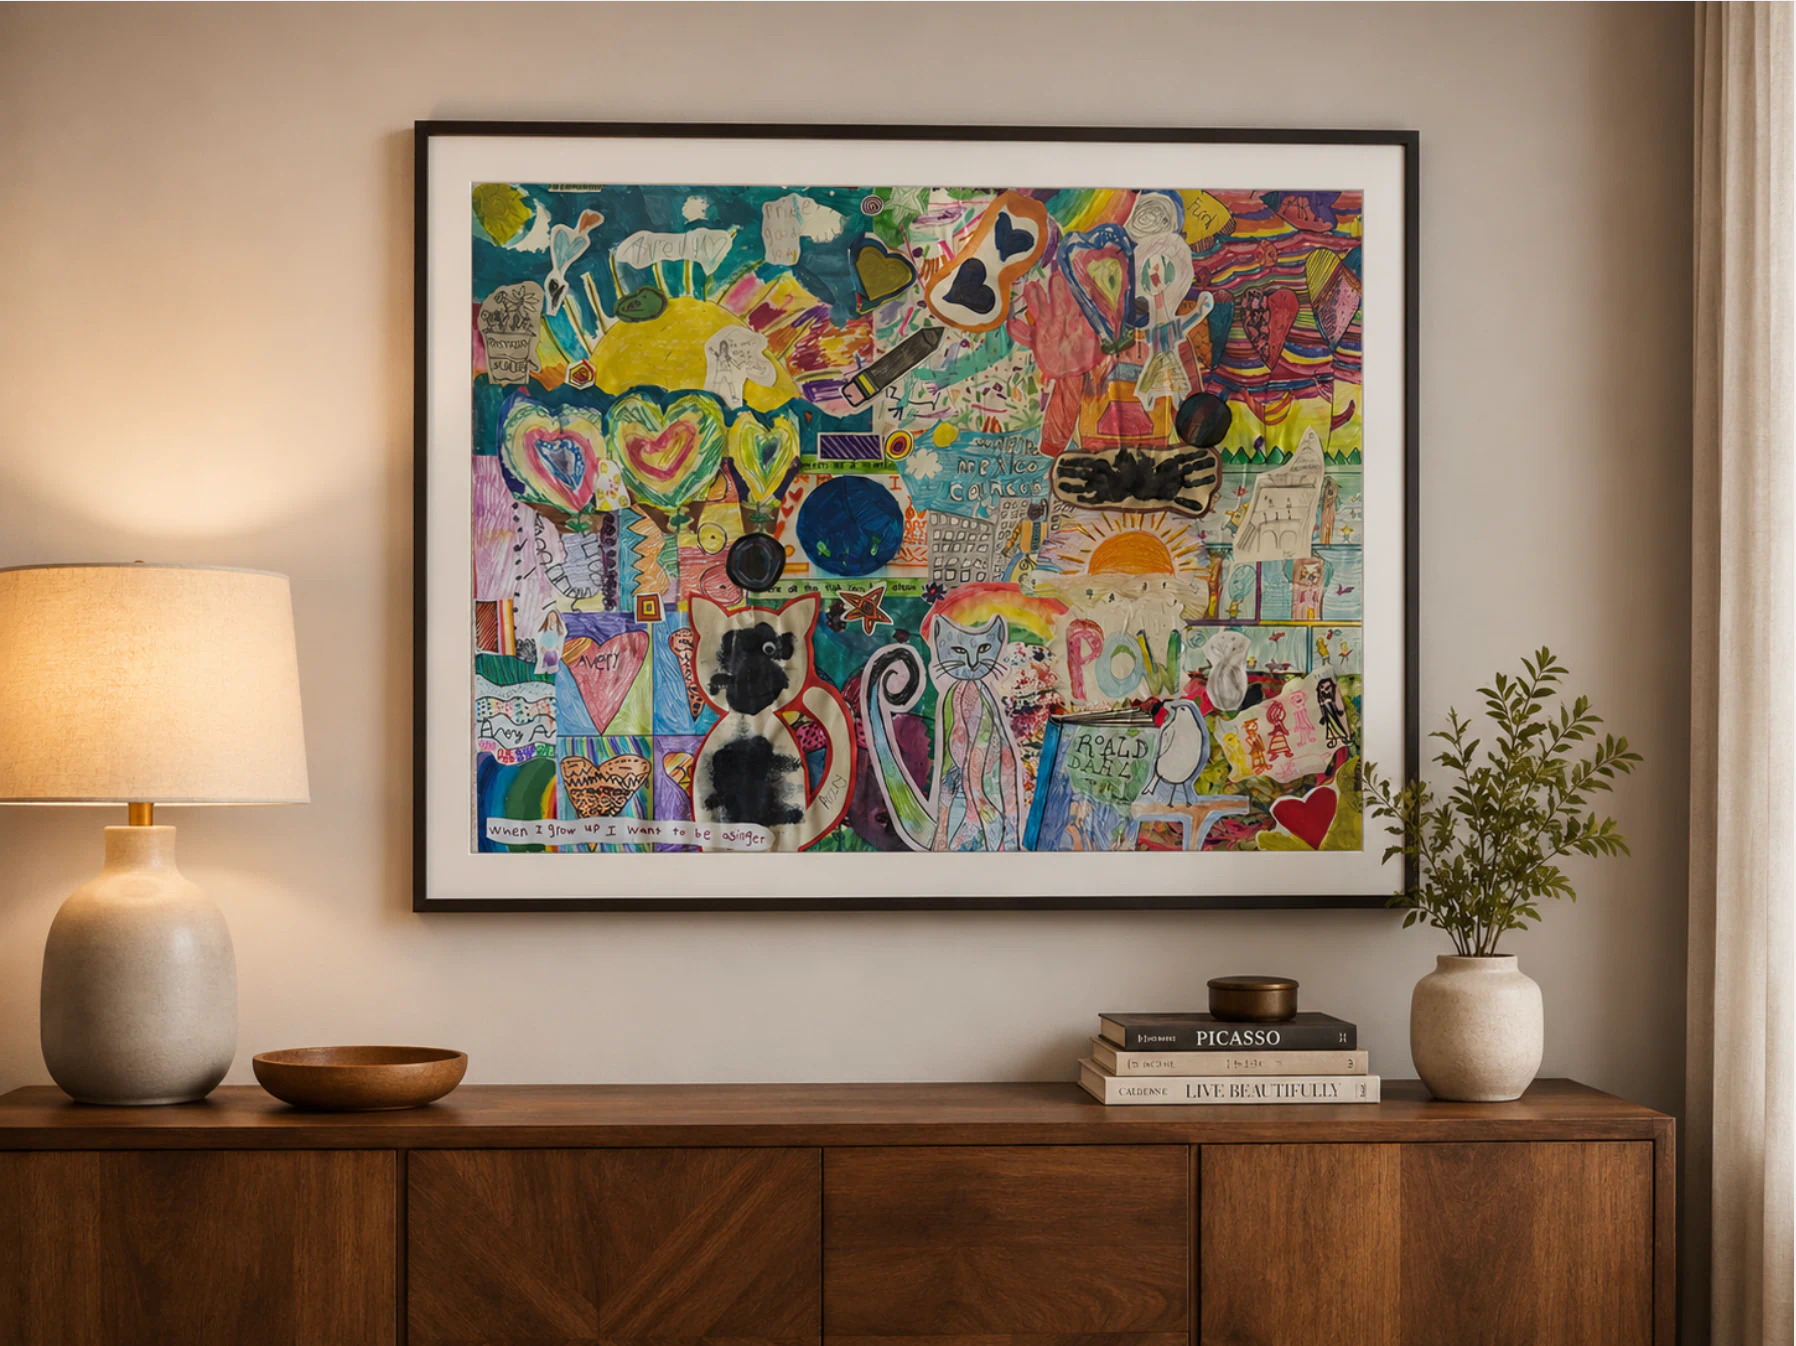
After making a few kids’ art canvases with our own children, I’ve realized there are really three different ways to turn their artwork into something you can display, enjoy, and keep — depending on how hands-on you want to be.
This is where it all started for us.
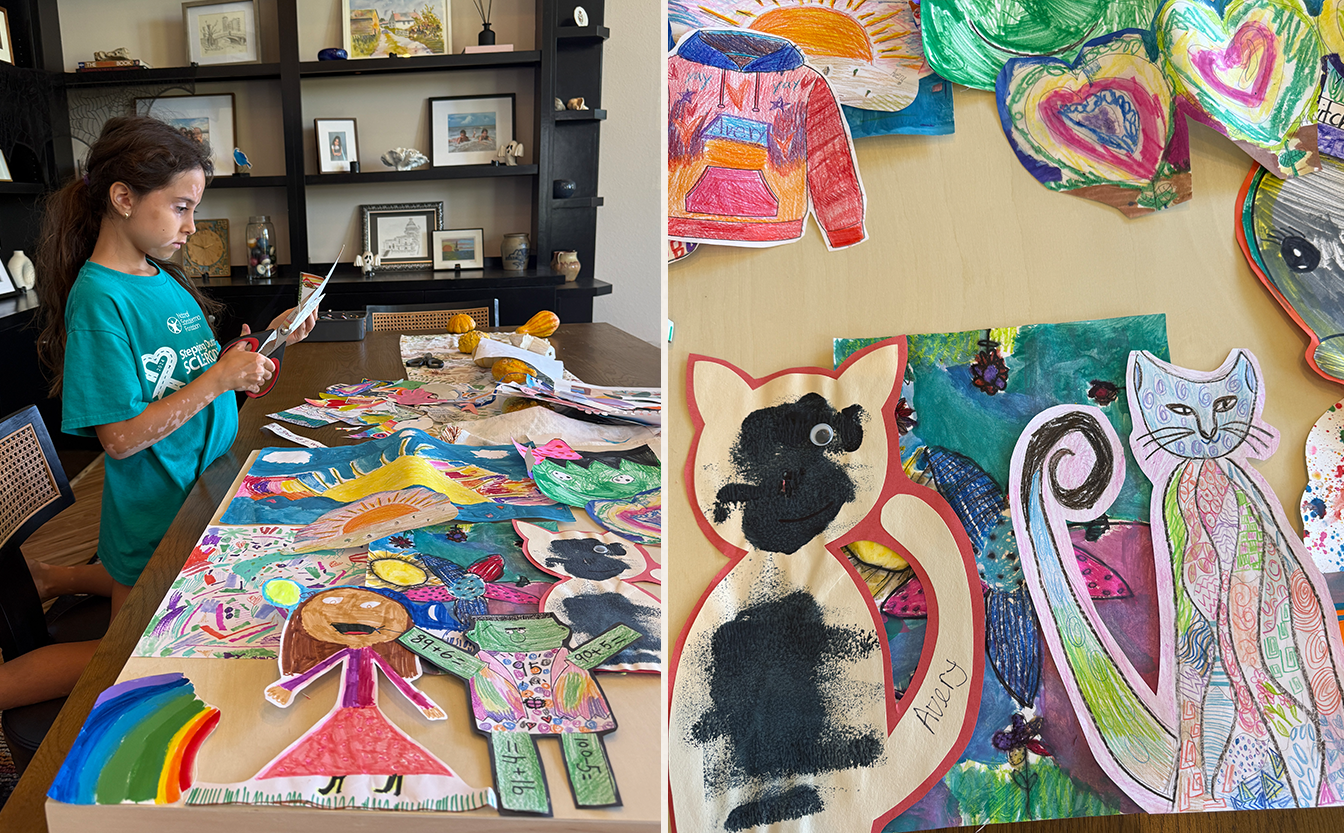
We gathered our kids' artwork, chose our favorite pieces, cut them down, and arranged everything onto one large canvas.
Using Mod Podge, we layered and glued the artwork together, turning years of drawings, paintings, and little scribbles into one big, colorful piece of art.
And I have to say, there's something really special about the process itself.
As you're going through the artwork, you start remembering when they made certain pieces. You notice their tiny handwriting, the funny little drawings, and the way their creativity has changed over the years.
You're not just making a canvas. You're bringing together all these little moments of their childhood into one piece that you get to see and enjoy every day.
And the best part? It doesn't need to be perfect. In fact, I think the imperfections are what make it so beautiful.
All of these supplies are on our Amazon Art Project List — the same ones we used for this canvas.
Materials:
Before you grab the scissors, there are a few things worth considering.
This method is permanent. You'll be cutting the original artwork, gluing it down, and layering pieces on top of one another.
Some paper may wrinkle, certain markers or paints may bleed when they come into contact with Mod Podge, and thicker pieces can be a little trickier to attach.
My advice? Take photos of the artwork before cutting anything, and set aside any extra-special pieces you'd rather keep intact.
And if you're feeling a little overwhelmed by where to start, I've got you!
I created a step-by-step video tutorial walking you through the entire process, from choosing your artwork and planning the layout to layering, gluing, and finishing your canvas.
You don't need to be an artist or have any experience making something like this. I'll show you exactly how we did it so you can create your own.
Love the idea of turning your kids' artwork into a beautiful keepsake, but the thought of cutting up their original masterpieces makes you a little nervous?
Or maybe you love the finished canvas but simply don't have the time (or patience!) to make one yourself.
I get it.
That's why I started offering custom digital art collages.
It's the same idea of bringing all those little pieces together into one meaningful work of art, but instead of cutting and gluing the original artwork, I create the entire collage digitally for you.
You send me photos of your kids' artwork, and I'll take it from there.
I thoughtfully arrange their drawings, paintings, and scribbles into one custom composition, finding ways to bring everything together while preserving the charm and personality of the original pieces.
I'll work with the colors, shapes, and little details to create something that feels intentional and beautiful without losing what makes your child's artwork so special in the first place.
Once the digital collage is complete, you'll receive a high-resolution file that you can have printed and displayed in your home, and I'll even guide you through that process.
You can turn it into a large statement canvas, frame it as a beautiful piece of wall art, or even print additional copies for grandparents and family members.
And the best part?
You get to keep every single original masterpiece.
No cutting, no gluing, and no worrying about whether you're going to mess something up.
You simply send me the artwork, and I'll turn it into something you'll treasure for years to come.
One of my favorite things about these canvases is that no two will ever look the same.
Every child has their own creative style, favorite colors, funny little drawings, and way of seeing the world.
My goal isn't to make their artwork look like something an adult created. It's to take all those little pieces of their imagination and bring them together in a way that feels true to them.
Because the magic is already in the artwork. It just needs a place to shine.

Honestly, it depends on what you want.
If you want the hands-on, sentimental, messy-but-beautiful experience, make the physical canvas yourself.
If you want a polished collage without risking the original artwork, have it digitally created and printed.
There’s no wrong way to do it.
The real point is to stop letting all those little pieces sit unseen in bins and drawers forever. Because when we display our kids’ art, we’re telling them their creativity matters. Not just the perfect pieces. Not just the ones that look like something recognizable. Not just the ones that match the house.
All of it is part of who they are.
And whether you turn it into a handmade canvas, a digital collage, or a rotating screen display, you’re giving those little pieces of their childhood a place to live.
Shop our favorite art supplies and project picks in our Amazon Storefront.
.png)
Sign up below to access our step-by-step video tutorial showing you how to turn your child's artwork into a beautiful canvas for your home.